The cloudy strip beside a shampoo bottle can make the whole shower look unfinished, even when the rest of the room is tidy. Before reaching for a stronger cleaner, work out which surface carries that strip and which nearby surfaces could receive the runoff.
A bathroom is a collection of finishes packed into a small space, rather than one cleaning material. The shower wall, base, metal trim, glass panel and countertop can sit within arm’s reach while needing different care instructions.
This guide is a way to plan ordinary soap-residue cleaning without turning that crowded arrangement into a chemistry experiment. It does not identify an unknown stain from its color, and persistent damage or a recurring problem belongs with the fixture maker or installer.
Give the patch a precise address
Start with a description you could send in a message: cloudy patch on the lower shower wall, directly below the bottle shelf. That is more useful than saying the bathroom needs a deep clean, because it identifies the contact area you actually want to treat.
Describe the neighboring materials too, especially the base beneath the wall and any narrow metal border. A wall cleaner that runs downward reaches another object, so the permitted use needs to account for that route rather than stopping at the patch’s edge.
Take a simple reference photo before beginning, with the bottle or shelf moved only if that can be done safely. Use the photo to compare the same spot later, instead of relying on whether the room looks brighter under different lighting.
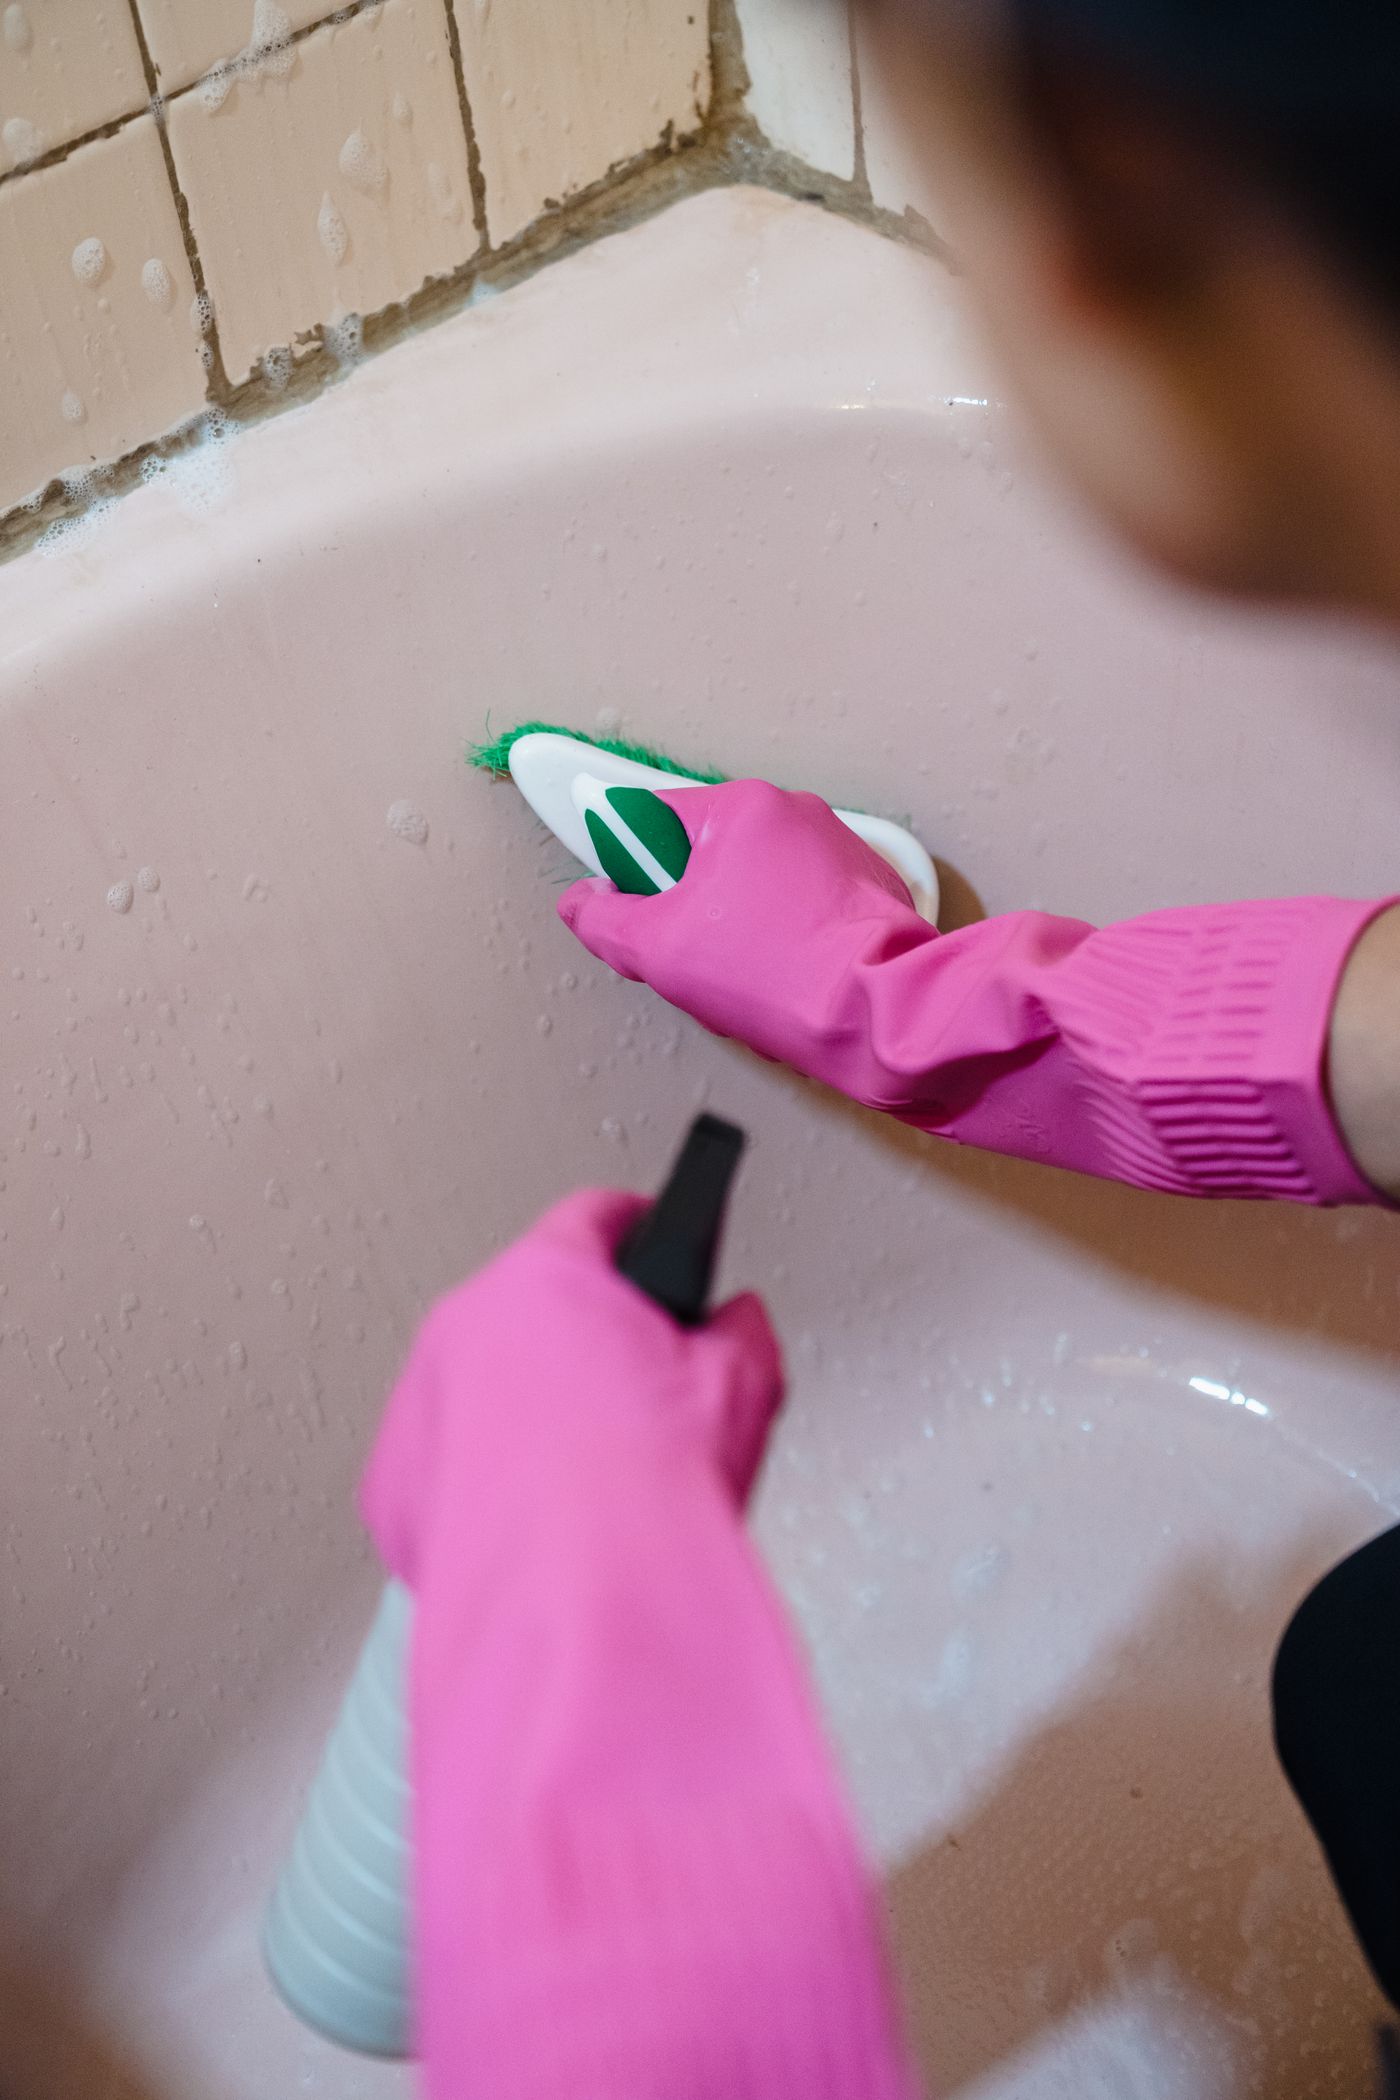
Do not turn the picture into a diagnosis of soap, mineral deposits or damaged finish. You can record that a mark looks cloudy and returns in the same place without claiming to know its composition.
Find the fixture, then the cleaner
Look for the fixture’s paperwork, purchase record or care page, and match any model or material information you can establish. A smooth white base does not tell you, by itself, whether the maker calls it acrylic, enamel or another material.
If the bathroom came with the home, ask the owner or installer for the product information rather than guessing from a showroom image. A short message with an overview, close-up and any existing label gives them a specific identification question to answer.
KOHLER’s bathroom guide starts shower-wall cleaning with a cleaner intended for the shower material, using a sponge or microfiber cloth. Its KOHLER Tub & Shower Cleaner example includes rinsing afterward; that example is not permission to use every tub cleaner on every wall.
Treat the current cleaner label and the actual fixture instructions as a pair. The fixture tells you what its finish permits, while the bottle tells you how that particular product should be used within those limits.
Check neighboring finishes against the same proposed contact, including any place the cloth or rinse water could reach. If you cannot confirm that combination, narrow the task or get the maker’s advice before introducing the product.
Build a small workable cleaning area
Clear ordinary bottles, loose containers and other movable items from the immediate patch, keeping them in their usual safe storage location. That gives you room to see the wall-to-base boundary and reduces the chance of knocking a container into your working area.
Choose an area you can reach from a secure position without climbing into an improvised setup. A high patch that needs awkward stretching is a separate access problem, and a stronger product will not solve it.
Have the permitted application tool, rinse arrangement and finishing cloth ready before starting. The point is to complete the label’s sequence on one area, rather than discover halfway through that the only dry cloth is in another room.
Follow the product’s ventilation, protective-equipment and test-area directions where specified. A demonstration photo may show gloves or foam, but it cannot supply the missing instructions for the chemical in your own hand.
Keep this as one product’s process, with no extra homemade ingredient added to improve it. A disappointing first result is a reason to reassess the surface and instructions, not to combine bottles or invent a new contact time.
Watch the boundary as closely as the patch
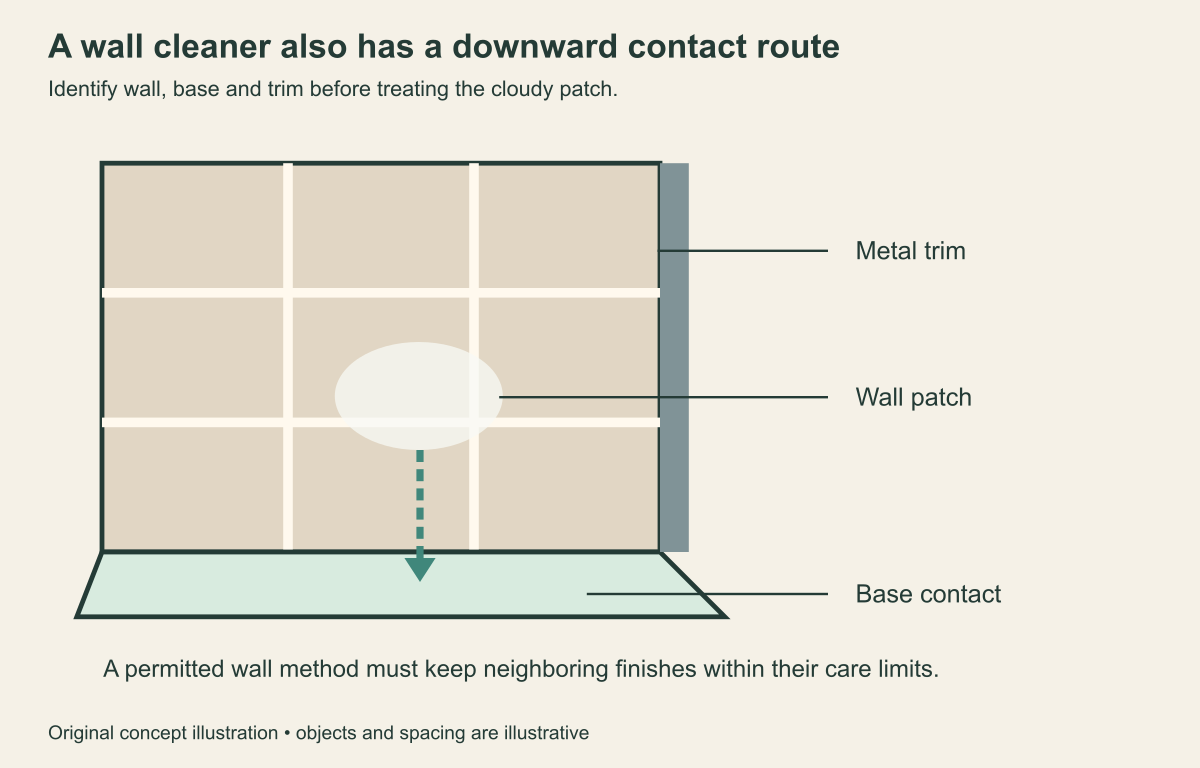
During the permitted application, notice whether the cloth reaches a trim edge or whether liquid starts traveling toward another finish. Adjust the working area within the instructions so the contact stays deliberate, rather than treating runoff as an unavoidable side effect.
For example, a narrow ledge directly beneath a wall can hold bottles and collect the rinse from the section above it. Move the loose items and plan how you will finish that ledge’s own permitted care before starting the wall.
Use the label’s application and removal directions instead of a universal countdown from an online tip. Different products can call for different handling, and the visible amount of foam does not tell you when a treatment is complete.
Keep a distinction between removing ordinary residue and treating a health-related concern. A cleaner’s soap-residue use does not establish a disinfecting claim, and a cleaner-looking patch is not evidence of a particular germ reduction.
If the finish changes, a seam starts looking damaged or the process feels outside the instructions, stop the cleaning attempt. Preserve the product name and a photo of what changed so the maker can answer a specific question.
Judge the result in the same location
After completing the permitted rinse and finishing steps, look at the original patch and its immediate surroundings under the same light if practical. Compare the reference area rather than judging the entire shower from the doorway.
A patch that is smaller but still visible gives you a limited observation, not proof that repeated stronger treatment will remove it. Write down what changed and what did not, including whether the border, seam or base looks different.
Avoid calling an unchanged mark embedded dirt simply because one cleaner did not remove it. The mark may need a different identification or a repair discussion, and continuing to scrub can make the original question harder to assess.
Consider a hypothetical wall with one cloudy band and a separate dull spot near a metal bracket. If the band improves but the dull spot remains, keep those outcomes separate instead of reporting that the whole wall responded to the same process.
A useful stopping point is a completed permitted cleaning attempt with an honest result. The room does not need to reach a photograph’s shine for you to decide that the next step belongs with the fixture supplier.
Make the next clean easier to arrange
Put bottles back in a way that leaves the recurring patch easy to see and access, without changing installed fittings. A crowded shelf that hides the lower corner can make a small ordinary cleaning job feel much larger when you finally notice it.
Keep the fixture’s approved routine-care directions with the cleaning supplies, rather than relying on a memory of which bottle worked once. If the maker recommends a particular after-use practice, apply that practice to the named finish and its instructions.
Do not claim that a new storage arrangement will prevent all buildup or solve a water-quality issue. Its practical benefit is simpler access and a clearer view of the area you already know needs attention.
If someone else cleans the bathroom, identify the exact wall product and the finishes it should not reach. A note such as lower wall only, confirm base care separately is more actionable than a broad instruction to use the shower cleaner everywhere.
Hand off a persistent problem clearly
For a repeated or unchanged mark, send the maker the fixture information, patch location, cleaner name and the steps you actually followed. Include the before-and-after photos without describing the attempt as a test of every possible cleaner.
Ask whether the visible condition is within normal cleaning care or needs inspection or repair. That separates a maintenance question from a promise to restore a finish with an increasingly aggressive treatment.
If the fixture identity remains unknown, say so in the request and include the neighboring materials as well. The useful result is a confirmed next action for that specific bathroom, with the original patch and its contact boundaries still easy to understand.
Sources and scope
Sources checked October 14, 2026. This guide uses documented information; it does not claim independent product testing or professional inspection.