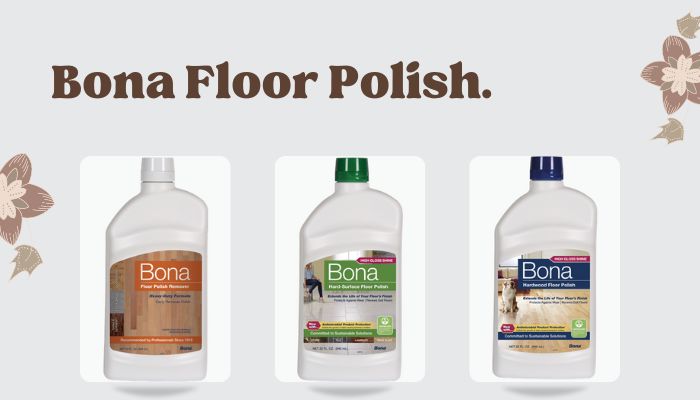
We are generally whitewashing our tiles for a variety of reasons. Also, this is a great way to update the look of your tile surfaces without the expense of replacing them. If you are one of us and want to whitewash your tile properly this article will make you like a professional. Our experts gathered some simple and specialized tips and that’s are below.
Step 1: Clean the Tile
The first step in whitewashing the tile is to clean the tile thoroughly. This means removing any dirt, grime, or stains that may be present. You can do this by using a mixture of water and mild detergent, or by using a commercial tile and grout cleaner. Be sure to rinse the tile well and let it dry completely before proceeding to the next step.
Step 2: Prepare the Whitewash Solution
To prepare a whitewash solution, you will need hydrated lime and water. The ratio of lime to water can vary depending on the desired consistency and desired level of whiteness.
One common recipe is to mix 1 part hydrated lime with 9 parts water. This will create a relatively thick whitewash that can be applied with a brush or roller.
Another recipe is to mix 1 part hydrated lime with 2 parts water and 1 part of glue size. Allow the mixture to sit for 24 hours before use. This will create a thinner whitewash that can be applied with a sprayer.
Before you start, make sure to wear gloves and protective eyewear, and always mix the lime with water, never the other way around, to avoid a dangerous reaction.
Step 3: Apply the Whitewash
If your whitewash solution is thick you have to use a paintbrush to apply it properly. Dip its head into the solution and use it on the tile. You can keep a mini brush to reach your solution in the blank space between two tiles.
Or if your solution is thin you have to use a sprayer to apply it on the tile. Also, no need for any type of brush.
Whatever it is you have to use a towel or used cloth after applying your solution. So that will help you to make the solution perfect for your tile. Always be careful about your clothes, bedsheets, sofas, etc, and keep them away from this solution while applying.
Step 4: Allow the Whitewash to Dry
Once the tile is covered with the whitewash solution, allow it to dry completely. This may take several hours or overnight, depending on the humidity and temperature.
Note: Don’t allow your children or pets to enter the solution-applied area. Otherwise, it will damage the whitewash effect from your tile.
Step 5: Seal the Tile
After the tile is dry, it’s recommended to seal the tile with a clear sealant. This will help to protect the whitewash from wear and tear and make it more durable. These sealers can be found at home improvement stores and can be applied with a brush or roller. Our experts advise applying a test coat in an inconspicuous area to ensure that the sealer does not change the look of the whitewashed tile.
Step 6: Re-grout the Tile
If your tile has grout, you will also want to consider re-grouting the tile. This will give the tile a cleaner, more finished look. You can do this by using a commercial grout cleaner to remove the old grout and then apply new grout.
Benefits of Whitewashing Your Tile
There are several advantages of whitewashing your tile. Also, it is a popular way to make your tile look like new. Here are some benefits and results expressed by our experts at a glance:
- Brightening up a room by giving the tiles a fresh and clean appearance
- Creating a more cohesive look by unifying the color of old and new tiles
- Hiding small cracks or imperfections in the tile
- Creating a rustic or vintage look
- Lowering the cost of a renovation project compared to replacing the tiles
- Allowing a homeowner to update the look of their tile without committing to a permanent change.
Besides, you can watch this video…
In conclusion, whitewashing tiles is a great way to update the look of your tile surfaces without the expense of replacing them. With the right tools and our expert techniques, you can easily whitewash your tile and give it a new, fresh look. Just be sure to follow the steps carefully and take the time to do a thorough job, and you’ll be able to enjoy your newly whitewashed tile for years to come.

