Change the setup when the surface changes
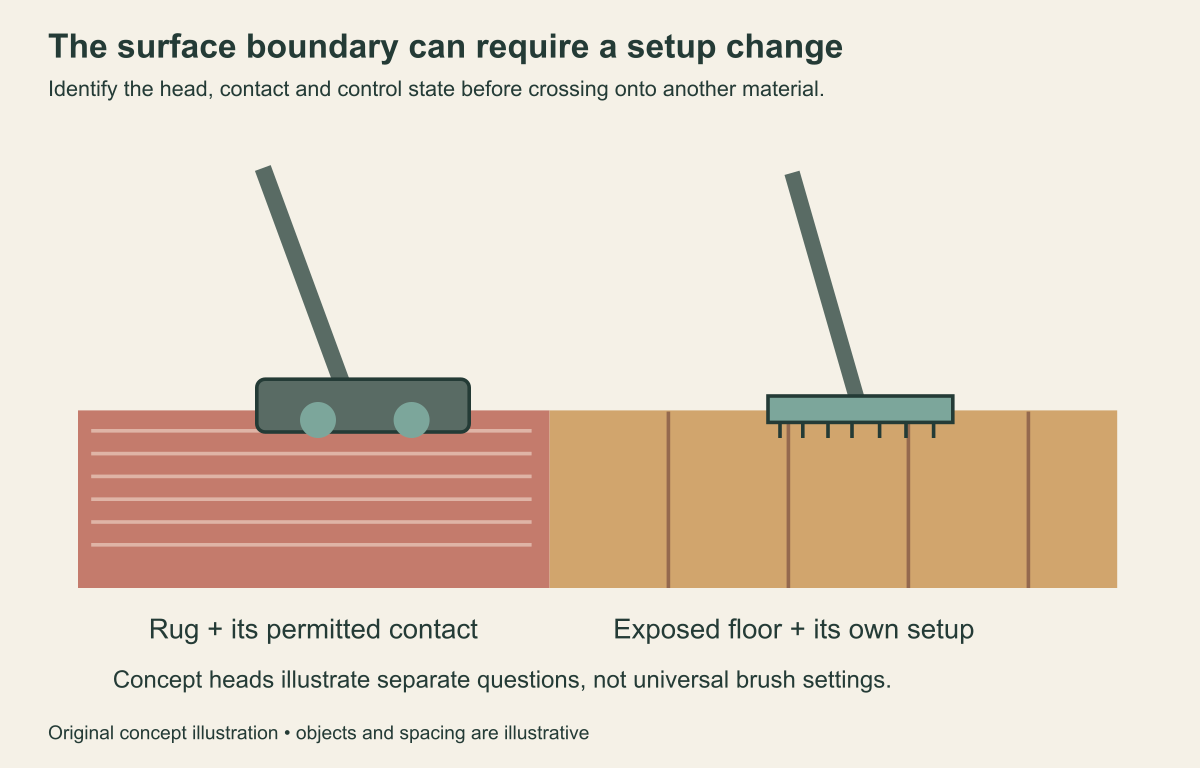
A living-room rug and the exposed floor beside it can be only inches apart while requiring different vacuum setups. Before continuing across that boundary, identify the surfaces and check which attachment and setting the vacuum maker and floor guidance permit.
Start with the machine’s exact model and the tools actually supplied, rather than the attachment collection pictured on a retailer page. A similar vacuum in the same brand family may have different accessories, controls, or brush behavior.
The BISSELL 2252-series manual is one specific example used here to illustrate why a setting and an attachment need separate checks. Its details are not instructions for every upright, canister, cordless machine, or carpet construction.
Draw the room’s main surfaces before assembling the route: the rug, surrounding floor, furniture upholstery, and narrow edges. That map makes the required changes visible instead of relying on remembering them while the machine is running.
For example, mark the rug edge underneath the coffee table separately from the exposed strip along the wall. The first location may need furniture preparation and a rug-specific setup, while the second needs the appropriate floor contact and enough room to move the selected tool normally.
Identify the cleaning head’s contact
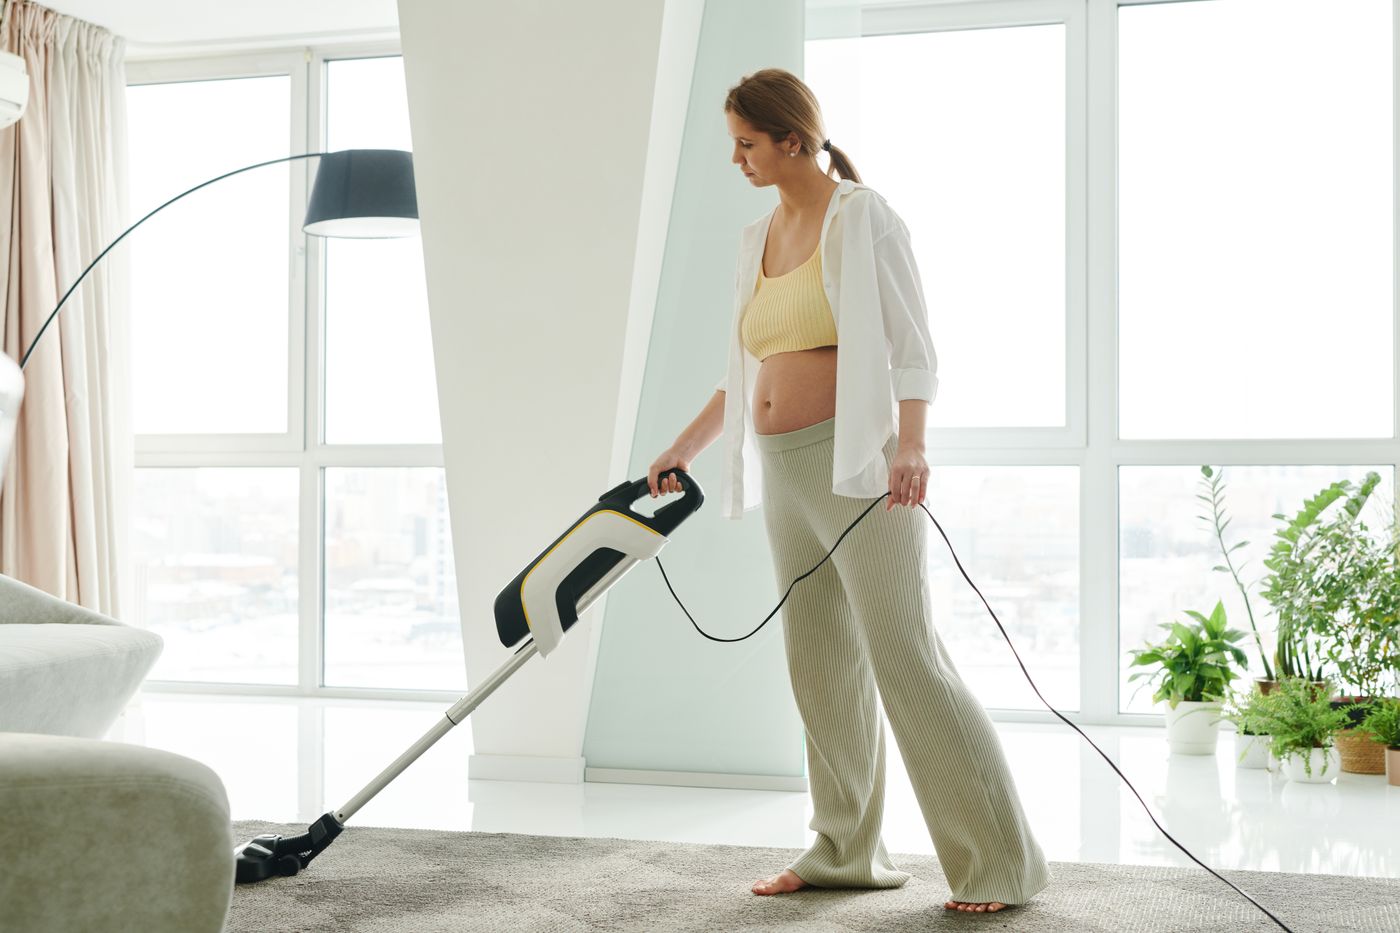
Look at the named head or floor tool and find its permitted use in the machine instructions. A wide opening, a brush strip, and a powered brush roll describe different contact arrangements, none of which can be selected only by appearance.
Compare that instruction with the floor or rug maker’s requirements. An attachment that belongs to the vacuum still needs to be suitable for the material and finish it will touch.
For the BISSELL 2252 example, the manual supplies height settings and says to move higher if the vacuum is difficult to push. Those model-specific controls do not establish a matching setting on another machine or permission to force a head through a resistant carpet.
If the tool is unusually difficult to move, stop and review the identified setup and surface. Do not interpret resistance as proof that stronger pressure will produce better cleaning.
Inspect the tool’s underside while following the machine’s safe shutdown and maintenance instructions. Retained debris, damage, or an unsuitable contact surface can change the decision even when the attachment name is correct.
Check what keeps moving during attachment use
The BISSELL 2252 manual says its rotating floor brush continues turning while accessory tools are used. It calls for the vacuum to remain on the floor with its handle upright and warns against placing the powerfoot on furniture or uneven surfaces.
That is a concrete reason to check the machine’s behavior before using a hose tool beside a sofa. Assuming the floor head becomes inactive can leave you planning around a state the model does not actually provide.
Another vacuum may stop its brush, require a particular selector position, or have a different attachment arrangement. Find that machine’s documented behavior instead of carrying the BISSELL example across the room to another model.
The named manual also requires unplugging before connecting or disconnecting its Pet TurboEraser tool. Treat any attachment change according to the actual machine’s instructions rather than making the connection while expecting the tool to remain inactive.
Keep the main machine’s placement in the plan while using the separate attachment. A hose that reaches the sofa has answered a distance question, not every question about where the body and head should remain.
Choose narrow tools for identified access
A narrow gap beside a cabinet may suggest a crevice tool, but check its intended use and the surrounding surface first. The opening’s width does not tell you whether the material inside is ordinary dry household debris.
Avoid forcing an attachment into a gap that would damage the finish or conceal its condition. If the ordinary route cannot reach the area appropriately, name the remaining task rather than turning the tool into a lever.
For a furniture surface, check its care instructions and the approved attachment method. A powered pet tool is not automatically appropriate for every fabric, trim detail, or loose textile beside the work area.
Prepare access by moving only items you can handle with a suitable method. Heavy furniture and unfamiliar equipment should not become an improvised part of a routine edge-cleaning task.
Keep attachments easy to identify when they are returned to storage. The next person should be able to distinguish the floor tool, fabric tool, and narrow-gap tool without reconstructing the assignment from the last room cleaned.
Plan the rug edge as a transition
Begin with the care requirements of the actual rug, including any restrictions on rotating brushes and fringe. A broad category such as area rug leaves important construction and finish details unresolved.
Identify where the rug meets exposed flooring and how the chosen tool will approach that boundary. Do not assume a head suitable for the rug can remain in the same state when it moves onto the floor beside it.
Consider the actual edge and furniture position when planning the route. A sofa leg close to the boundary can create a narrow access question even if the rest of the rug is easy to reach.
Keep loose items outside the intended cleaning path according to the machine and textile instructions. The task is to clean an identified surface, not to see what the vacuum can swallow without an immediate problem.
If an edge lifts, a fabric reacts unexpectedly, or the tool catches, stop and assess the specific observation. Continued passes under the same setup do not establish that the contact is appropriate.
Define what each pass should accomplish
For an ordinary floor task, specify the area and surface rather than chasing a dramatic before-and-after pattern. The completed result should match the permitted process and the actual accessible area.
Look for missed locations in the route, such as beneath a lightweight chair already moved aside or along an accessible wall edge. Those observations can prompt a defined remaining task without changing the whole machine setup unnecessarily.
Do not infer a measured level of particle removal from visible stripes in carpet pile. A changed appearance and a completed instructed vacuuming process are different types of information.
If ordinary pickup seems poor, keep that concern separate from the attachment selection task. Record the surface, tool, setting, and behavior so the machine’s troubleshooting guide can address the actual situation.
Do not add water or an unapproved chemical to make a dry-vacuum task more effective. Use a different supported process when the identified soil or surface requires one, rather than modifying the vacuum’s intended role.
Finish with an understandable setup record
After the task, follow the machine’s required shutdown and tool-care instructions. Return accessories so the next person can find a suitable tool in its intended condition, with its actual model compatibility still identifiable.
Keep a short surface map with the required setup changes for the room. A note distinguishing the rug, exposed floor, and upholstery can make the next route easier without replacing the manufacturer instructions.
Update that record when a rug, floor finish, or vacuum attachment changes. A familiar room name does not preserve an old setup’s suitability after the material or tool has been replaced.
For a manufacturer question, provide the exact vacuum model, head or attachment, surface identification, and observed difficulty. That information is more useful than asking which universal setting should work everywhere.
The right setup connects the machine, attachment, control state, and actual surface. A tool that reaches the area becomes useful only when that complete arrangement is supported for the job.
Sources and scope
Sources checked October 14, 2026. This guide uses documented information; it does not claim independent product testing or professional inspection.